Invisible Harvests 2016-06-03 Invisible Harvests 2016-06-03 Returning, with a new film Read More Film Festivals 2011-08-13 Film Festivals 2011-08-13 One year later, TIFF Read More Film Festivals 2011-05-30 Film Festivals 2011-05-30 Trailer Read More Film Festivals 2011-04-28 Film Festivals 2011-04-28 Lots of good news... Read More Film Festivals 2011-03-12 Film Festivals 2011-03-12 Cabbages in Annecy Read More Film Festivals, Tools & Materials 2011-02-18 Film Festivals, Tools & Materials 2011-02-18 Some Stop Mo Resources... in Toronto Read More Uncategorized 2010-12-03 Uncategorized 2010-12-03 Krampusnacht, the Quietest: a new quick experimental film Read More Film Thoughts, Little Theatres, Uncategorized 2010-11-13 Film Thoughts, Little Theatres, Uncategorized 2010-11-13 Fin. Read More Audio 2010-09-20 Audio 2010-09-20 Music in Montreal Read More Progress Report, Scene Footage 2010-08-13 Progress Report, Scene Footage 2010-08-13 Full Circle Read More Progress Report 2010-07-31 Progress Report 2010-07-31 Very Quick Update Read More Uncategorized 2010-06-04 Uncategorized 2010-06-04 Forgot to Mention... Read More Cameras and Lenses, Lighting, Progress Report, Scene Footage 2010-06-03 Cameras and Lenses, Lighting, Progress Report, Scene Footage 2010-06-03 Hard to Believe Read More Lighting, Set Design 2010-05-14 Lighting, Set Design 2010-05-14 Final Scenes! Read More Set Design 2010-03-25 Set Design 2010-03-25 Scaling Up Read More Uncategorized 2010-03-23 Uncategorized 2010-03-23 Funny Things Read More Lighting 2010-03-11 Lighting 2010-03-11 Sabela Cutting Cabbage: Lighting Breakdown Read More Cabbage, Scene Footage 2010-03-09 Cabbage, Scene Footage 2010-03-09 Introducing... Shelley's Boiling Water! Read More Character Animation, Rigging 2010-03-01 Character Animation, Rigging 2010-03-01 How The Heck Do I Do This. Read More Progress Report 2010-02-27 Progress Report 2010-02-27 Progress Report: February Read More Older Posts
Film Festivals, Tools & Materials 2011-02-18 Film Festivals, Tools & Materials 2011-02-18 Some Stop Mo Resources... in Toronto Read More
Uncategorized 2010-12-03 Uncategorized 2010-12-03 Krampusnacht, the Quietest: a new quick experimental film Read More
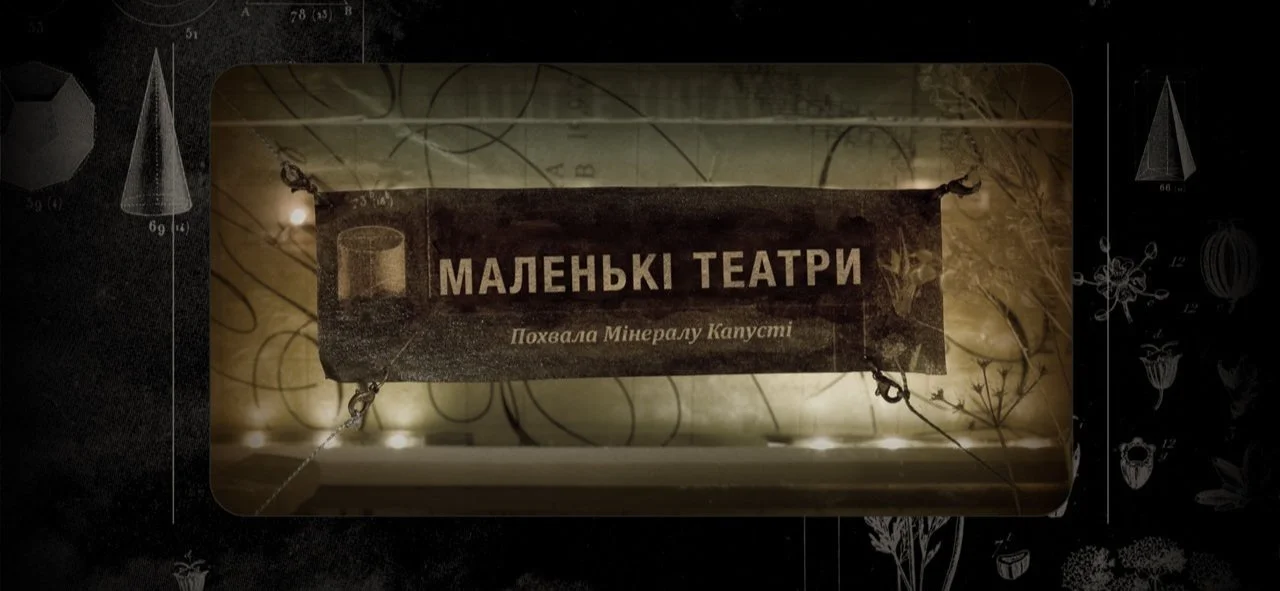
Film Thoughts, Little Theatres, Uncategorized 2010-11-13 Film Thoughts, Little Theatres, Uncategorized 2010-11-13 Fin. Read More
Progress Report, Scene Footage 2010-08-13 Progress Report, Scene Footage 2010-08-13 Full Circle Read More
Cameras and Lenses, Lighting, Progress Report, Scene Footage 2010-06-03 Cameras and Lenses, Lighting, Progress Report, Scene Footage 2010-06-03 Hard to Believe Read More
Cabbage, Scene Footage 2010-03-09 Cabbage, Scene Footage 2010-03-09 Introducing... Shelley's Boiling Water! Read More
Character Animation, Rigging 2010-03-01 Character Animation, Rigging 2010-03-01 How The Heck Do I Do This. Read More